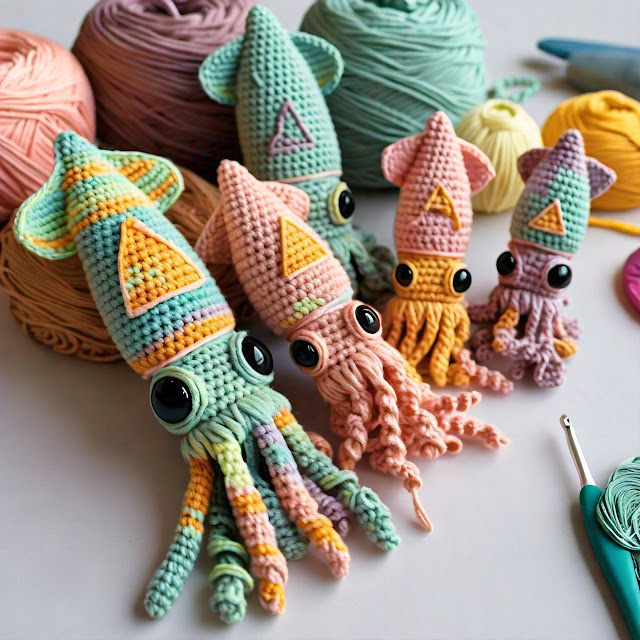
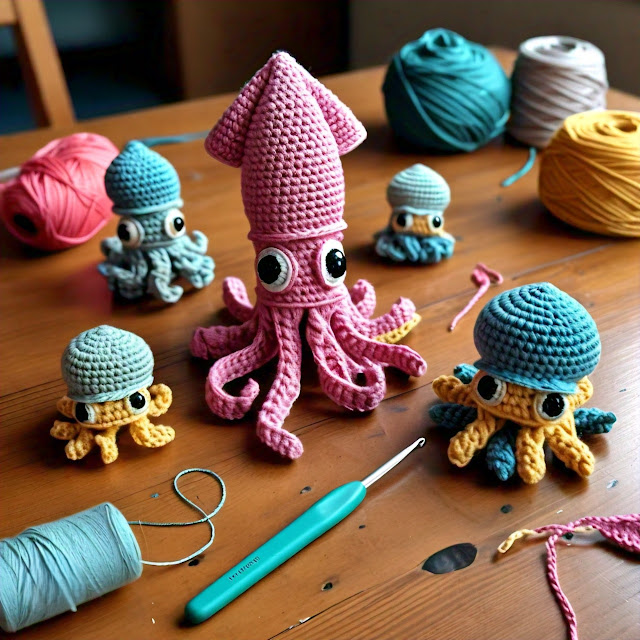
These delightful creations bring a splash of creativity to your crochet projects, whether you're a beginner or a seasoned enthusiast. Crafted with care using soft yarns and a variety of crochet hooks, each squid pattern is a testament to skillful craftsmanship. Dive into the artistry and find inspiration in the detailed stitches and charming designs. Explore the possibilities with colorful yarns and personalize your creations to suit your style. Unleash your imagination and bring these adorable squid patterns to life in your next crochet adventure.
Materials Needed:
Before starting, gather the following materials:
Yarn:
Choose soft yarn in your desired colors for the body, eyes, and any additional decorations.
Stuffing:
Use polyester fiberfill or any suitable stuffing material.
Scissors:
Cut yarn and thread.
Step 1: Begin with the Body
1. Magic Ring:
Start with a magic ring (or alternative method for starting in the round) and crochet 6 single crochet (sc) stitches into the ring.
2. Increase Rounds:
Continue increasing evenly in each round until the body reaches your desired circumference. For example, increase every other round until you have 36 stitches.
Step 2: Shape the Body
1. Straight Rounds: Work even (no increases) for several rounds to create the cylindrical shape of the body. Adjust the number of straight rounds based on the length you want for your squid.
2. Decrease Rounds:
Start decreasing evenly in each round to taper the body towards the top. For instance, decrease every other round until you have 6 stitches remaining.
Step 3: Stuff the Body
1. Add Stuffing:
Before closing up the body, stuff it firmly with polyester fiberfill or your preferred stuffing material to give it a plush, rounded shape.
Step 4: Tentacles
1. Make Tentacles: Crochet multiple tentacles separately using chains and single crochets. For example, chain 30, then work sc stitches back along the chain. Vary the length of tentacles for a more natural look.
Step 5: Attach Tentacles to Body
1. Position Tentacles: Sew the tentacles evenly around the bottom of the body using a yarn needle. Ensure they are securely attached and evenly spaced for balance.
Step 6: Add Eyes
1. Attach Safety Eyes: If using safety eyes, insert and secure them between the tentacles on the upper part of the body
Step 7: Finishing Touches
1. Embellishments:
Add any additional decorations, such as crocheted spots or tiny bows, to personalize your squid.
Step 8: Finishing
1. Weave in Ends:
Securely weave in all loose ends using a yarn needle to ensure your squid is neat and tidy.
Step 9: Final Touch-Up
1. Shape and Adjust:
Gently shape your squid by molding the body and adjusting the position of tentacles and eyes as desired.
Tips for Success:
Experiment:
Play with different yarn weights and hook sizes to achieve various sizes of squids.
Personalize:
Customize your squids with unique color combinations and decorative elements.
Practice:
Familiarize yourself with basic Crochet stitches if you're new to crocheting amigurumi or small creatures.
Body
Step 1: Create a magic ring with blue yarn (size dependent on desired squid size).
Step 2: Ch 2, 6 sc into the magic ring.
Step 3: Slst into the first sc. (12 sc)
Step 4: Repeat Increase Round until you have the desired number of stitches for your squid size.
Step 5: Even Rounds: Ch 2, sc in each st around. Sl st into the first sc. Repeat for several rows.
Tentacles
Step 1: Create 8 new magic rings with blue yarn.
Step 2: Ch 2, 4 sc into each magic ring.
Step 3: Tentacle Shaping: Ch 2, sc2tog (see Special Stitches below), sc in each st around. Sl st into the first sc. Repeat for several rows.
Eyes
Step 2: Use white embroidery floss to create highlights.
Finishing Touches
Step 1: Weave in ends.
Step 2: Block the amigurumi to shape.
That's it With these easy steps, you can create an adorable Crochet Squid amigurumi in various sizes. Happy crocheting.
Note: You can find the images of the finished amigurumi and the steps on my website, or you can use your favorite search engine to find the images.
Here are the sizes you can make using this pattern:
Small: 10 inches (25 cm)
Medium: 15 inches (38 cm)
Large: 20 inches (51 cm)
Extra Large: 25 inches (63 cm)
Here is a step-by-step pattern for a free crochet squid amigurumi.
Small Squid (10 inches / 25 cm)
Body.
Step 2: Ch 2, 6 sc into the magic ring. Slst into the first sc to form a ring.
Step 3: Slst into the first sc. (12 sc)
Step 4: Repeat Increase Round until you have 48 sc.
Step 5: Even Rounds: Ch 2, sc in each st around. Sl st into the first sc. Repeat for 5 rows.
Tentacles
Step 1: Create 8 new magic rings with blue yarn.
Step 2: Ch 2, 4 sc into each magic ring. Slst into the first sc to form a ring.
Step 3: Slst into the first sc. Repeat for 3 rows.
Medium Squid (15 inches / 38 cm)
Body
Step 2: Ch 2, 6 sc into the magic ring. Slst into the first sc to form a ring.
Step 3: Increase Round: Ch 2, sc in each st around. Sl st into the first sc. (12 sc)
Step 4: Repeat Increase Round until you have 72 sc.
Step 5: Even Rounds: Ch 2, sc in each st around. Sl st into the first sc. Repeat for 7 rows.
Tentacles
Step 1: Create 8 new magic rings with blue yarn.
Step 2: Ch 2, 4 sc into each magic ring. Slst into the first sc to form a ring.
Step 3: Tentacle Shaping: Ch 2, sc2tog, sc in each st around. Sl st into the first sc. Repeat for 5 rows.
Large Squid (20 inches / 51 cm)
Body
Step 1: Create a magic ring with blue yarn.
Step 2: Ch 2, 6 sc into the magic ring.
Step 3: Increase Round: Ch 2, sc in each st around. Sl st into the first sc. (12 sc)
Step 4: Repeat Increase Round until you have 96 sc.
Step 5: Even Rounds: Ch 2, sc in each st around. Sl st into the first sc. Repeat for 9 rows.
Tentacles
Step 1: Create 8 new magic rings with blue yarn.
Step 2: Ch 2, 4 sc into each magic ring. Slst into the first sc to form a ring.
Step 3: Tentacle Shaping: Ch 2, sc2tog, sc in each st around. Sl st into the first sc. Repeat for 7 rows.
Extra Large Squid (25 inches / 63 cm)
Body
Step 2: Ch 2, 6 sc into the magic ring. Slst into the first sc to form a ring.
Step 3: Slst into the first sc. (12 sc)
Step 4: Repeat Increase Round until you have 120 sc.
Step 5: Even Rounds: Ch 2, sc in each st around. Sl st into the first sc. Repeat for 11 rows.
Tentacles
Step 1: Create 8 new magic rings with blue yarn.
Step 2: Ch 2, 4 sc into each magic ring.
Step 3: Slst into the first sc. Repeat for 9 rows.


Comments
Post a Comment